
The latest free pattern here on the blog – Summer Throwback Crochet Bow Ties.
Read on for the design and inspiration, colorful cotton yarn I chose, or scroll to the bottom of the page for the free pattern with step by step photo tutorial.
Or purchase the ad-free printable PDF pattern on Etsy HERE or Ravelry HERE.
Pin to your Pinterest board for later HERE.

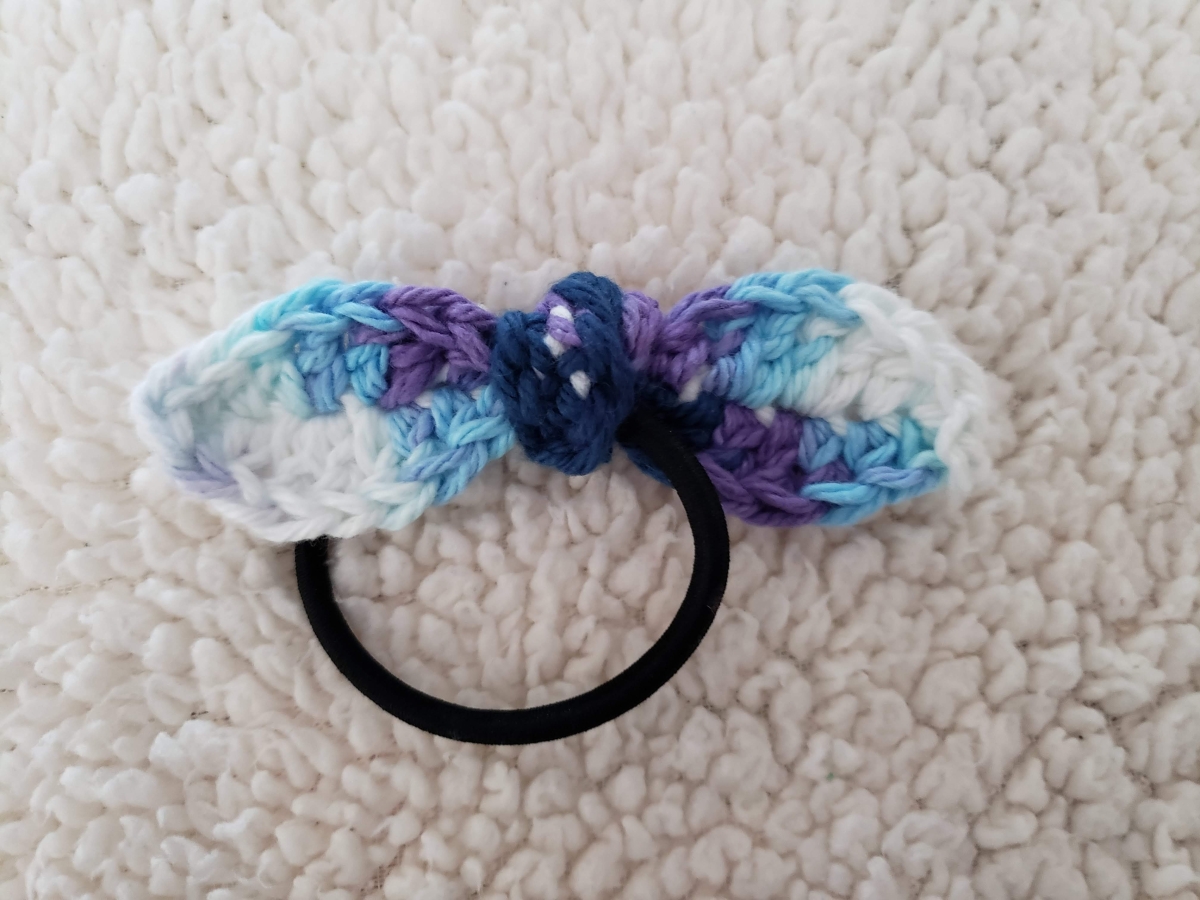
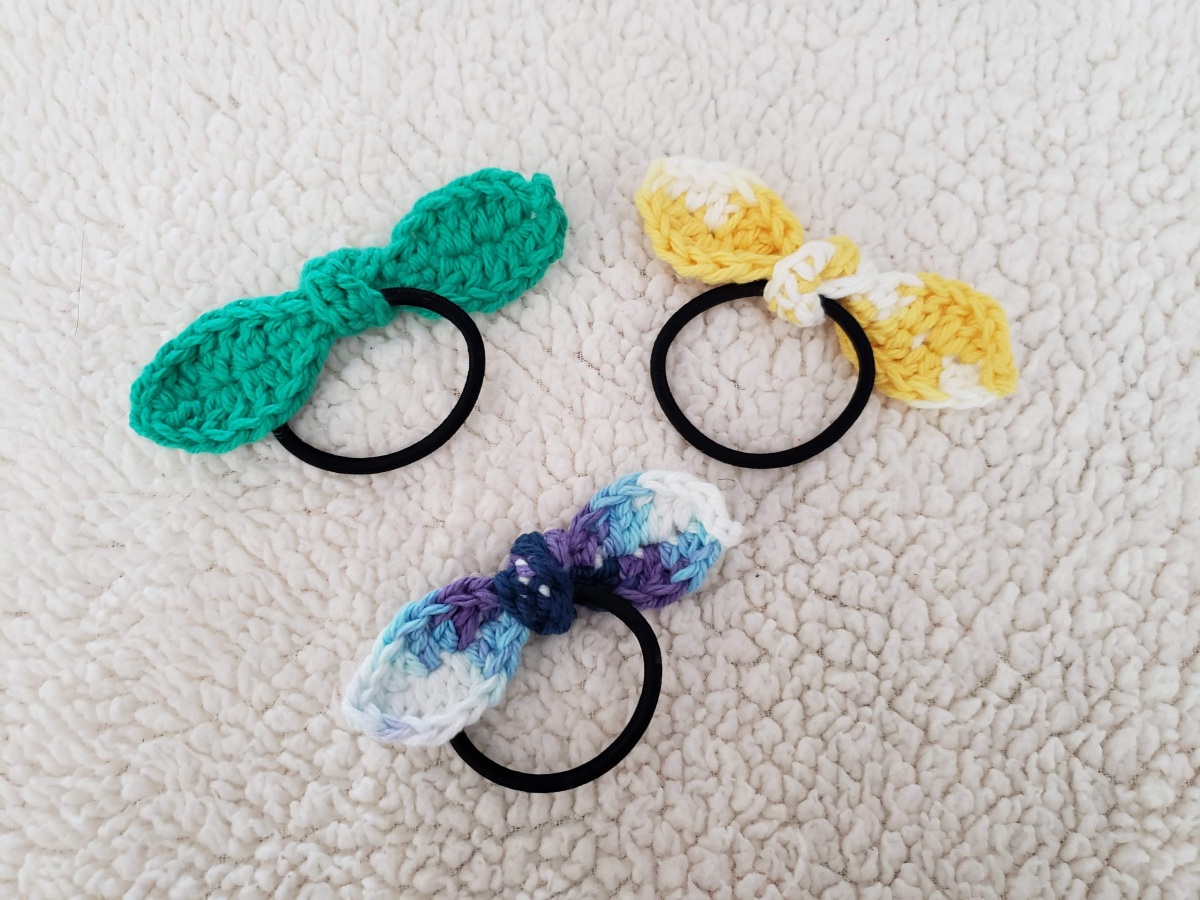
Looking for a cute, no muss, no fuss hair accessory? The Summer Throwback Crochet Bow Ties are just the things. Perfect for kids of all ages and hair types of every kind.
Don’t have hair long enough for a ponytail? No problem! Tie one on a headband or headscarf.
Scrunchies always stretched-out or breaking? Don’t worry! The bows untie for easy removal, so you can accessorize however you like.
The pattern is beyond simple and makes a great summer craft for the kiddies. All you need is a crochet hook, some scrap yarn, basic knowledge of sc, hdc and dc, and the accessory of your choice.
Make your bows big and floppy like Minnie Mouse’s or itty-bitty, perhaps for a baby shower gift. Mine measure 5.5 inches long before tied, but the bows are customizable, so it’s totally up to you.

Design & Inspiration
I have to admit, this one came to me simply because I had some bright color cotton yarn on hand and wanted to make something cute and pretty with it. And with the school year wrapping up and summer fast approaching, I’m seeing more and more of the kids in my neighborhood riding their bikes and motorized jeeps around the block. So why not design something the littles can enjoy wearing AND making?

While designing these hair accessories, I couldn’t help but think back to my own childhood and remembered all the barrettes and scrunchies I used to wear to keep my hair from getting tangled in things like, oh say, the wheels of a moving tricycle or the pants zipper of one of my classmates’ (yep, those both happened!).
As a kid, my hair was super long–I’m talking waist-length–and pin-straight, so hair things were an absolute must. And as a ’90’s kid, I had it all. Remember the butterfly clips with moving wings? Or the bobble ponytails? How about the plastic barrettes with orange lace-up sneakers and pink poodles? Or those circle headbands that ripped out all our hair, but we wore ’em anyway? And of course snap clips for days! I like to think these crocheted bows are a throwback to my younger self.
The one thing I was most conscientious about during the design phase was the middle section for the knot. I wanted to make sure it was thin enough that the knot wouldn’t look too obtrusive when tied, but also wanted it to wrap securely around so as not to easily fall right off. The solution: a long middle section of sc!

Yarn Choice
Lily Sugar’n Cream was one of the very first cotton yarns I ever purchased. That’s going back about six years now since I’ve been knitting and crocheting that long. I still remember shopping in Michaels thinking, those are REALLY pretty when I saw them in the back of the yarn aisle. I must’ve bought at least 10 or 12 skeins because they’re so unbelievably inexpensive and I just HAD to buy every colorway.

I’ve been working with Lily Sugar’n Cream cotton yarn quite a bit recently to crochet things like ear-savers that I’ve donated to medical professionals and a pot holder for my kitchen.
This yarn is a must-have for your collection! I’m talking 100% USA-grown natural fibers, everyday wear and tear sustainability, and shades in every bright, neutral, pastel, ombre, stripe and twist you can think of. Did I mention there’s even a scented line?
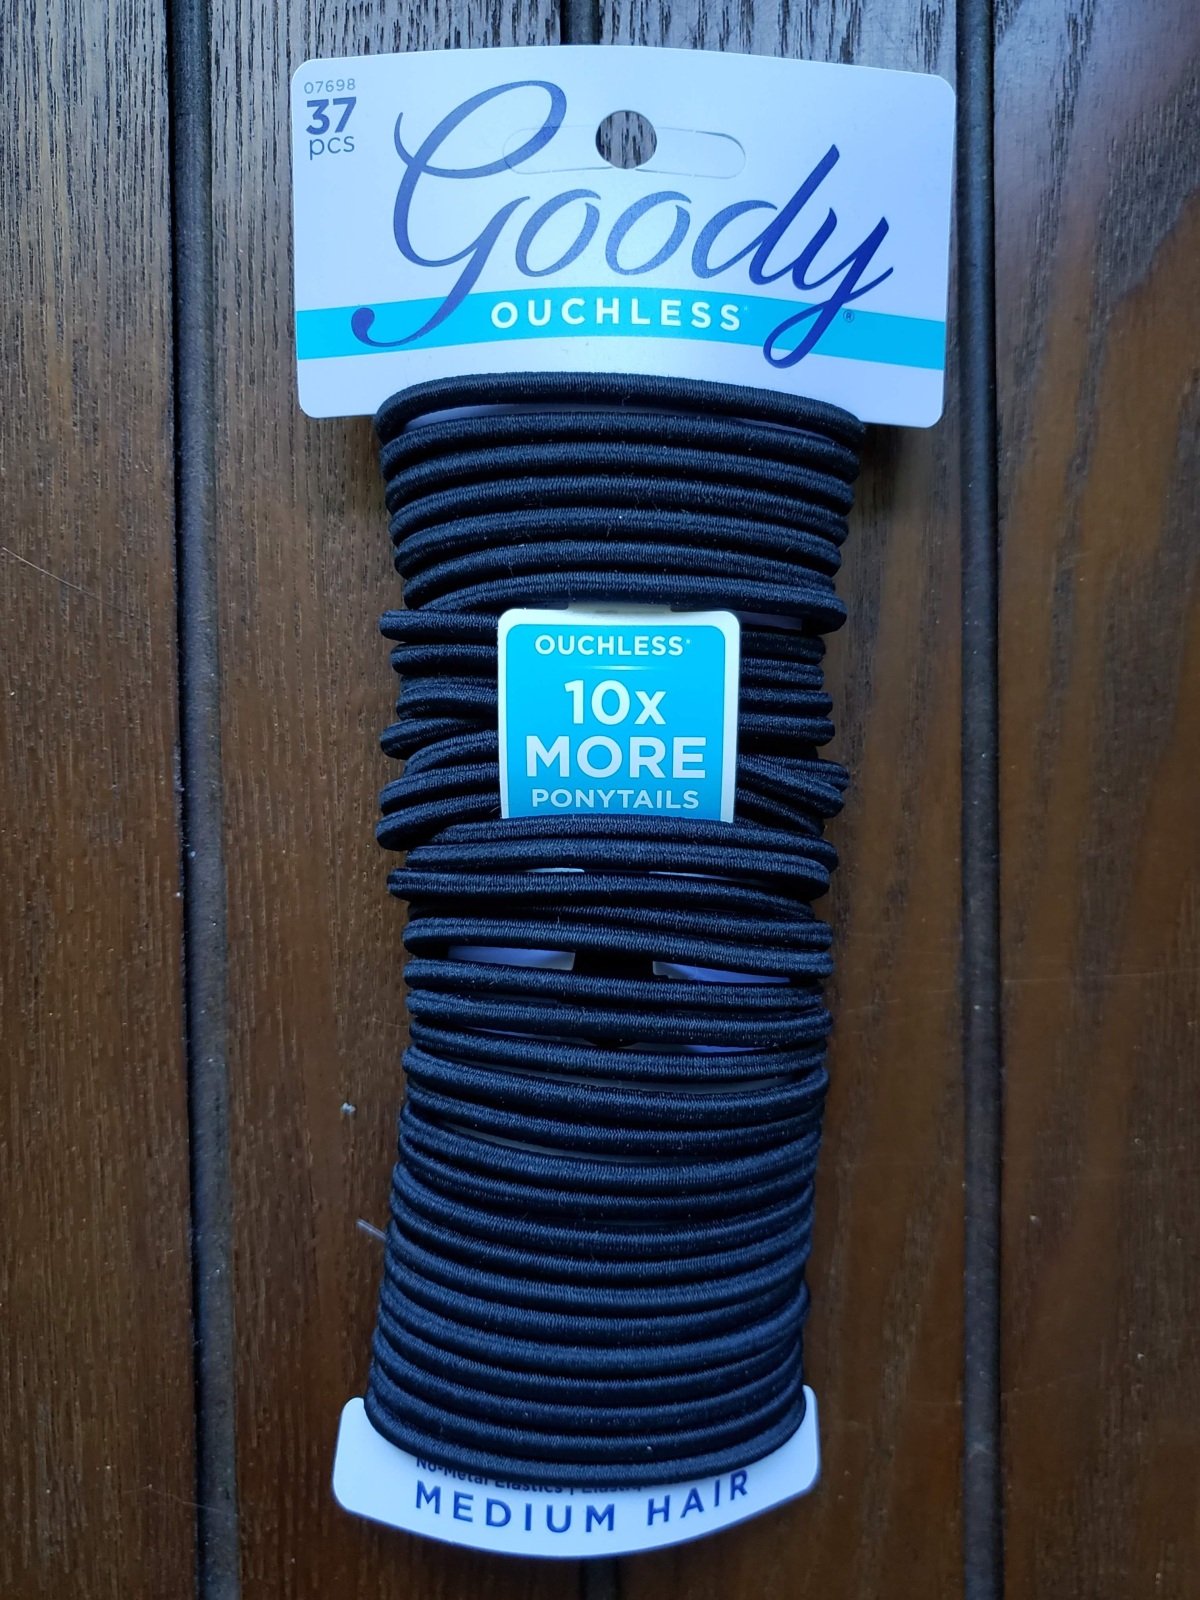
For the Summer Throwback Crochet Bow Ties, I used Hot Pink, Tangerine, and Mod Green solids, and Moondance and Daisy ombres. And for the hair ties, I used Goody Ouchless Comfortable Elastic for medium hair.
Pattern
MATERIALS
Lily Sugar’n Cream by Yarnspirations (weight 4 / worsted, 95 yds/86 m, 2 oz/56.7 g) or scrap yarn with similar measurements
Size US G/4.00 mm crochet hook
Tapestry needle
Hair accessory (i.e. tie, scrunchie, headband, headscarf, etc.)
FINISHED SIZE
Length: 5.5″ untied
Width: 1″ at bow’s fullest point
GAUGE
5 sts = 1″ in sc
ABBREVIATIONS
*Pattern is written in standard US terms*
Ch – chain
Sc – single crochet
Hdc – half double crochet
Dc – double crochet
Rep – repeat
St(s) – stitch(es)
Sl st – slip stitch
Notes: The st sequence for the bow’s curves is sc, hdc, 2 dc, 2dc, hdc, sc – this is done four times (twice in round 1 and twice in round 2). The st sequence for the bow’s knot is 8 sc – this is done twice (once in round 1 and once in round 2). Turn work upside-down at the end of round 1 to continue with round 2. The 3 sc at the end of round 1 are explained as follows: st 1 of 3 = end of top half; st 2 of 3 = turning st; st 3 of 3 = start of bottom half.
Ch 21.
Round 1: sc in 2nd ch from hook, *hdc, dc 2 in same st, dc 2 in same st, hdc*, sc 10, rep from * to last st, sc 3. Turn work upside-down.
Round 2: *hdc, dc 2 in same st, dc 2 in same st, hdc*, sc 10, rep from * to last st, sc 1, sl st.
Secure and weave in ends.
Photo Tutorial
Begin by chaining 21 stitches. I used a G hook, but feel free to change it up depending on how big or small you want your bow to be. Sc in the second chain from the hook, then hdc in the next stitch. Make two dc in the following stitch and repeat in the next stitch for a total of four dc. Then hdc and sc in the next two stitches. These steps make the top half of the bow’s curve.

Sc in the next eight stitches to make the top half of the middle section. This is the part that will be used to tie the knot. Then, repeat the previous steps to make the top half of the other bow’s curve.

At this point, you’ve reached the end of round 1. Place two more sc in the last stitch, then turn your work upside-down. You should now have three sc in the last stitch: 1) end of the top half of the work; 2) turning stitch; and 3) start of the bottom half of the work.

Repeat all the steps mentioned and finish with a slip stitch.

To tie the bow, insert into the hair accessory and make a “V” with the right side of your project closest to you.

Pull the wrong side so that it overlaps the hair accessory and the right side.

If you look at the bow from an angle, you’ll see that there’s a gap where the accessory is.

Pull the bottom (aka wrong side you just pulled) through the gap and twist so that the right side is facing you.

To remove the bow, loosen the knot to untie it.
Quick fun fact: I am actually a left-handed crocheter; however, I mirrored my photos in the tutorial above for all you right-handed crocheters out there. Leftys – if you want to see the original photos with the left-handed demo, leave a reply below or hit me up privately in an email: gourdgeousknits@gmail.com.
The patterns and photographs on this site are the property of gourdgeous knits and are for personal, non-commercial use. The selling or distribution of these patterns physically or electronically are not permitted. Please credit gourdgeous knits when sharing on social media with #gourdgeousknits.
